|
All Steady bicycle models arrive approximately 75% assembled in the box. Your Steady bicycle arrives in the box with the rear wheel, chain, and drive train already assembled and intact. The remainder of the bike that requires assembly is the front wheel, seat and seat post, pedals, reflectors, and a few other small items. For the Espresso Racer model, the front and rear brake cables must be inserted and adjusted. For most semi-mechanical customers, the final portion of a Steady bicycle’s assembly after being taken out of the box can usually be completed within about 30 to 45 minutes depending on your experience with bikes. For those who are mechanical or have experience assembling bicycles, the final assembly can be done in as little as 15 to 20 minutes on most models. While many of our customers that purchase a Steady bicycle online can easily assemble the remaining parts of the bicycle themselves, we boldly inform all customers that it is easy to damage and strip certain nuts and bolts if assembled incorrectly, or by not using the proper tools. Most bicycle shops offer bicycle assembly and final prep for online purchased bicycles for a small fee. We highly encourage going this route to ensure your bicycle is assembled and prepped properly. For safety and liability, we firmly inform customers that injury can occur when riding a bicycle that has not been properly assembled and prepped. Additionally, if you have never worked on a bicycle before, you should take your new Steady bicycle to a bike shop and pay to have it assembled for you. Steady Bicycle Company does not warranty parts or components damaged from improper assembly or accidents while putting the bicycle together. Below are the very few items and tools needed to unpack, assemble, and prep each Steady bicycle model: |
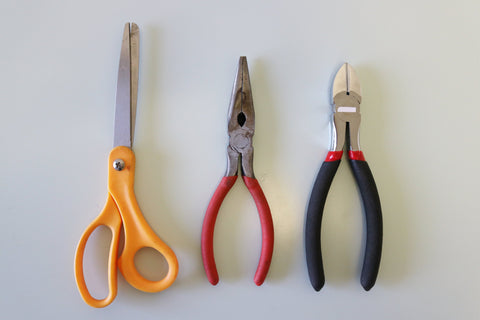
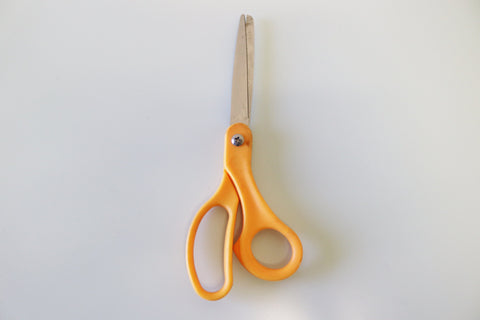
I. THE STEADY CLASSIC:Part 1. Unboxing the Bike (Tools Needed): Part 3. Inflating Tires: |
 |
 |
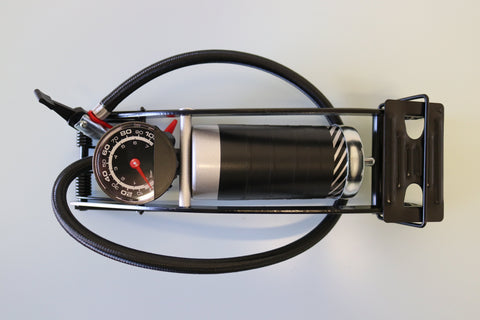 |
Part 1. Unboxing the Bike (Tools Needed): Part 3. Inflating Tires: |
 |
 |
 |
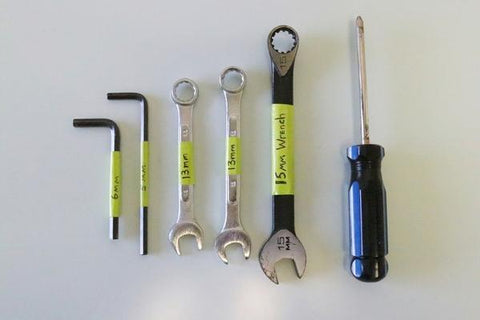
Part 1. Unboxing the Bike (Tools Needed): |
 |
 |